This post may contain affiliate links. Please read my disclosure and privacy policy.
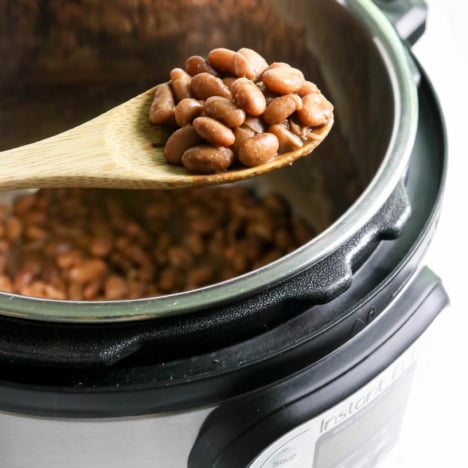
Instant Pot Pinto Beans are quick and easy to prepare. All you have to do is add the ingredients to the pot, press a button, and walk away. Cooking beans from scratch has never been easier!
What is the Ratio of Beans to Water in the Instant Pot?
When cooking beans in the Instant Pot, you’ll use 2 1/2 cups of water for every 1 cup of dry beans. I’ve tried using less than that, but since beans expand as they cook, the ones that aren’t fully submerged in liquid will cook unevenly.
You can definitely use more water, if you want to, but it’s not necessary for pinto beans. Since this recipe calls for seasoning, you won’t want to dilute the flavor any more, either.
If you’re interested in cooking other legumes, check out my other Instant Pot tutorials:
- Instant Pot Black Beans
- Instant Pot Chickpeas
- Instant Pot Lentils (4 varieties)
New to using the Instant Pot? Check out my Instant Pot Tutorial video to learn almost everything you need to know about your electric pressure cooker in just 3 minutes.
How to Pressure Cook Soaked Pinto Beans
Not everyone has time to soak their beans in advance, but if you like to, here’s what you need to know.
Benefits of Soaking Beans:
- They might be easier to digest. Soaking beans in water for 8 hours or more, may help to remove some of the anti-nutrients, like phytates, and indigestible sugars that naturally occur in beans. This may help them to digest better, and reduce gas and bloating later.
- The beans will cook faster. A brief moment of prep work the night before can shave off 2/3 of the cooking time.
- Pre-soaked beans tend to hold their shape better. Soaked beans don’t burst as much during the cooking process.
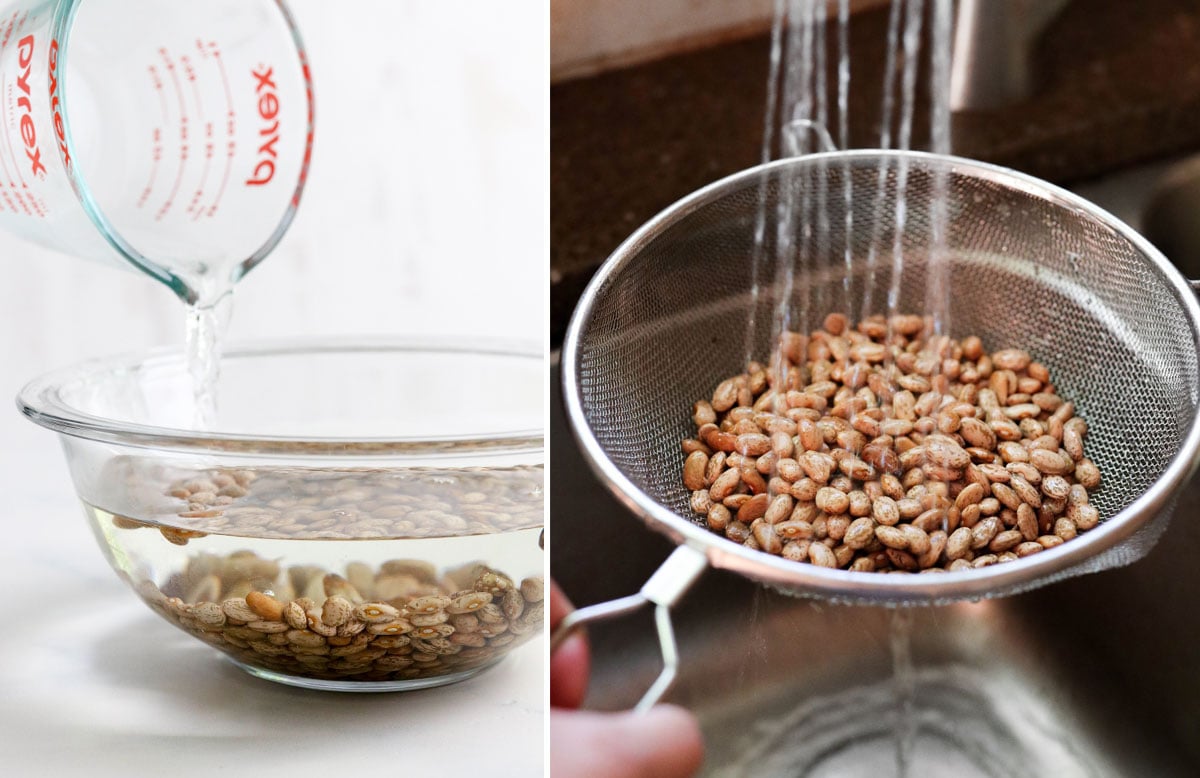
To soak beans, you’ll simply cover the dry beans in 2 to 3 inches of water and place the bowl in the fridge to soak for 8-12 hours. You can do this in the morning before you go to work, and then they will be ready to cook in time for dinner.
Drain the soaking water and rinse the beans well. Pour the drained beans into the Instant Pot, and cover them with fresh water and the seasonings in the recipe below.
Cook at high pressure for 15 minutes, then let the pressure naturally release for 10 minutes. (This allows any foam to settle, and the beans will finish cooking during this time.)
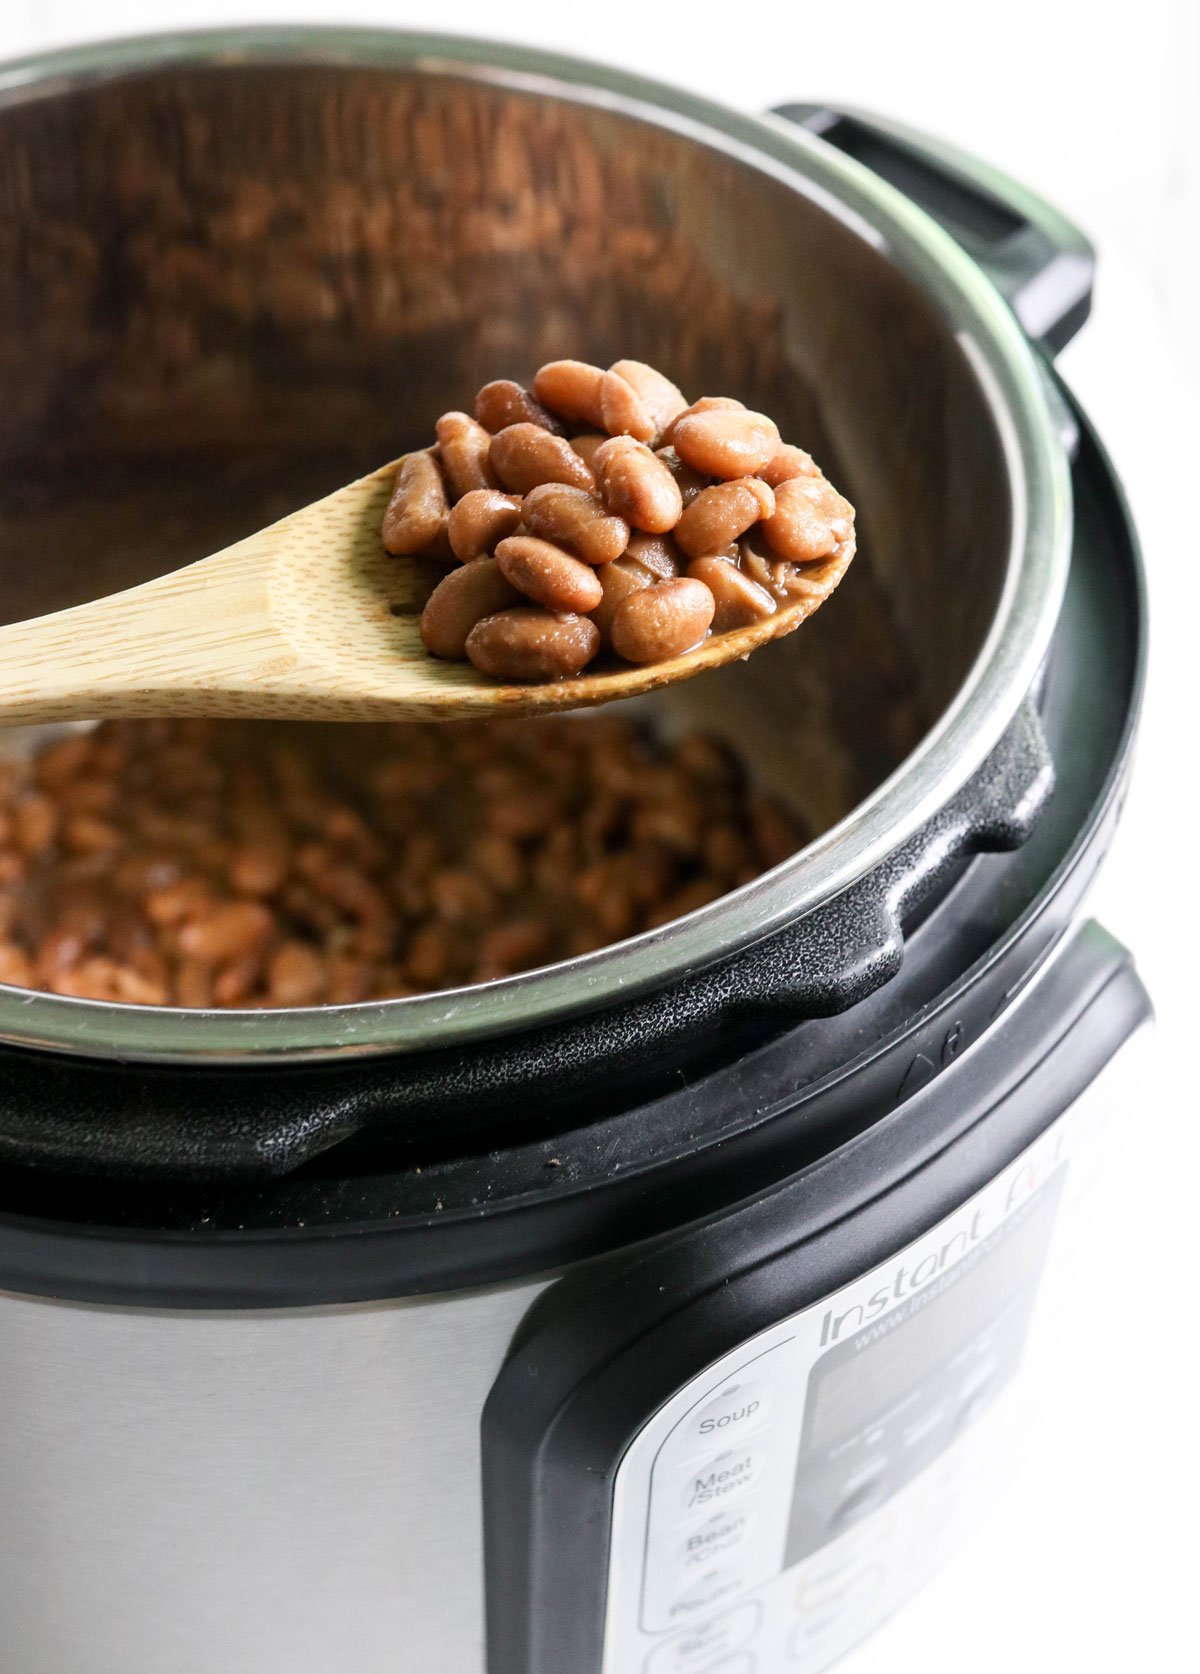
Move the steam release valve to “Venting” to release any remaining pressure, then when the floating valve drops, it’s safe to open the lid. The beans will still be sitting in a significant amount of liquid, so I like to use a slotted spoon for serving them.
How to Thicken The Cooking Liquid
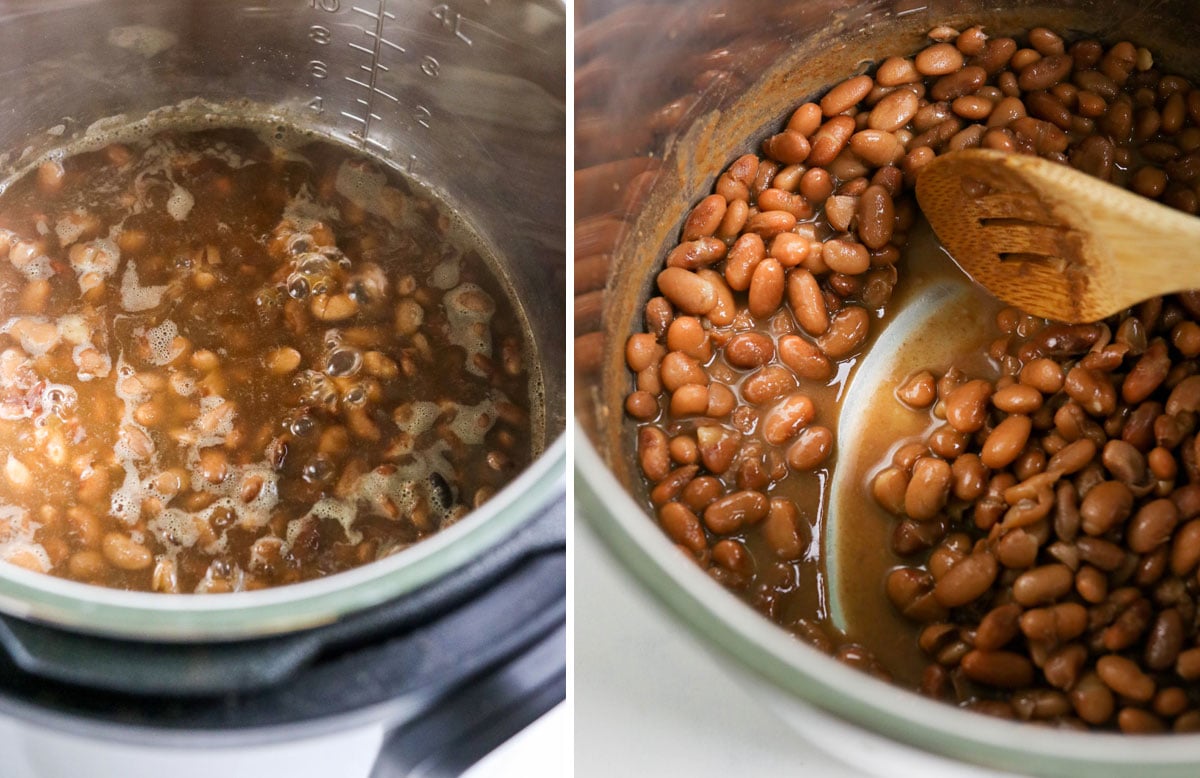
If you want the cooking liquid to thicken up, press the Sauté button while the lid is off. The liquid will start to boil and evaporate, so in about 10 minutes it will be thicker and more concentrated in flavor.
For an extra-thick option, you can mash some of the beans in the bottom of the pot, until the texture is to you liking.
How to Pressure Cook Un-Soaked Beans
If you’re like me and forget to soak your beans in advance, you can still cook dry beans from scratch. Simply cover the unsoaked beans with 2 1/2 cups of water (for every 1 cup of dry beans you use) and cook at high pressure for 50 minutes.
With this method, you’ll also let the pressure naturally release for 10 minutes, and then you can thicken the liquid using the Sauté setting I mentioned above, if you’d like to.
Note: I’ve seen other recipes call for cooking times in as little as 30 minutes for unsoaked beans, but I could never get a consistently creamy texture in that short of a cooking cycle. This may vary on the freshness of the beans you buy and the size of your machine (I test my recipes in a 6-quart Instant Pot Duo), so feel free to experiment if you find that 50 minutes is too long for your machine.
Does Cooking with Salt Affect Beans?
In my experience, beans tend to be affected by salt more when you pressure cook them, as opposed to cooking them on the stove top.
However, when testing pinto beans in the Instant Pot, there’s not a huge difference in adding salt or not. The beans turned out to be about the same tenderness either way, using the same cooking time.
That’s why the recipe below does call for salt, because the resulting beans turn out much more flavorful that way. My 4-year-old daughter told me they taste better than the pinto beans at Chipotle! (Probably because they are less spicy.)
How Much Does 1 cup of Pinto Beans Make?
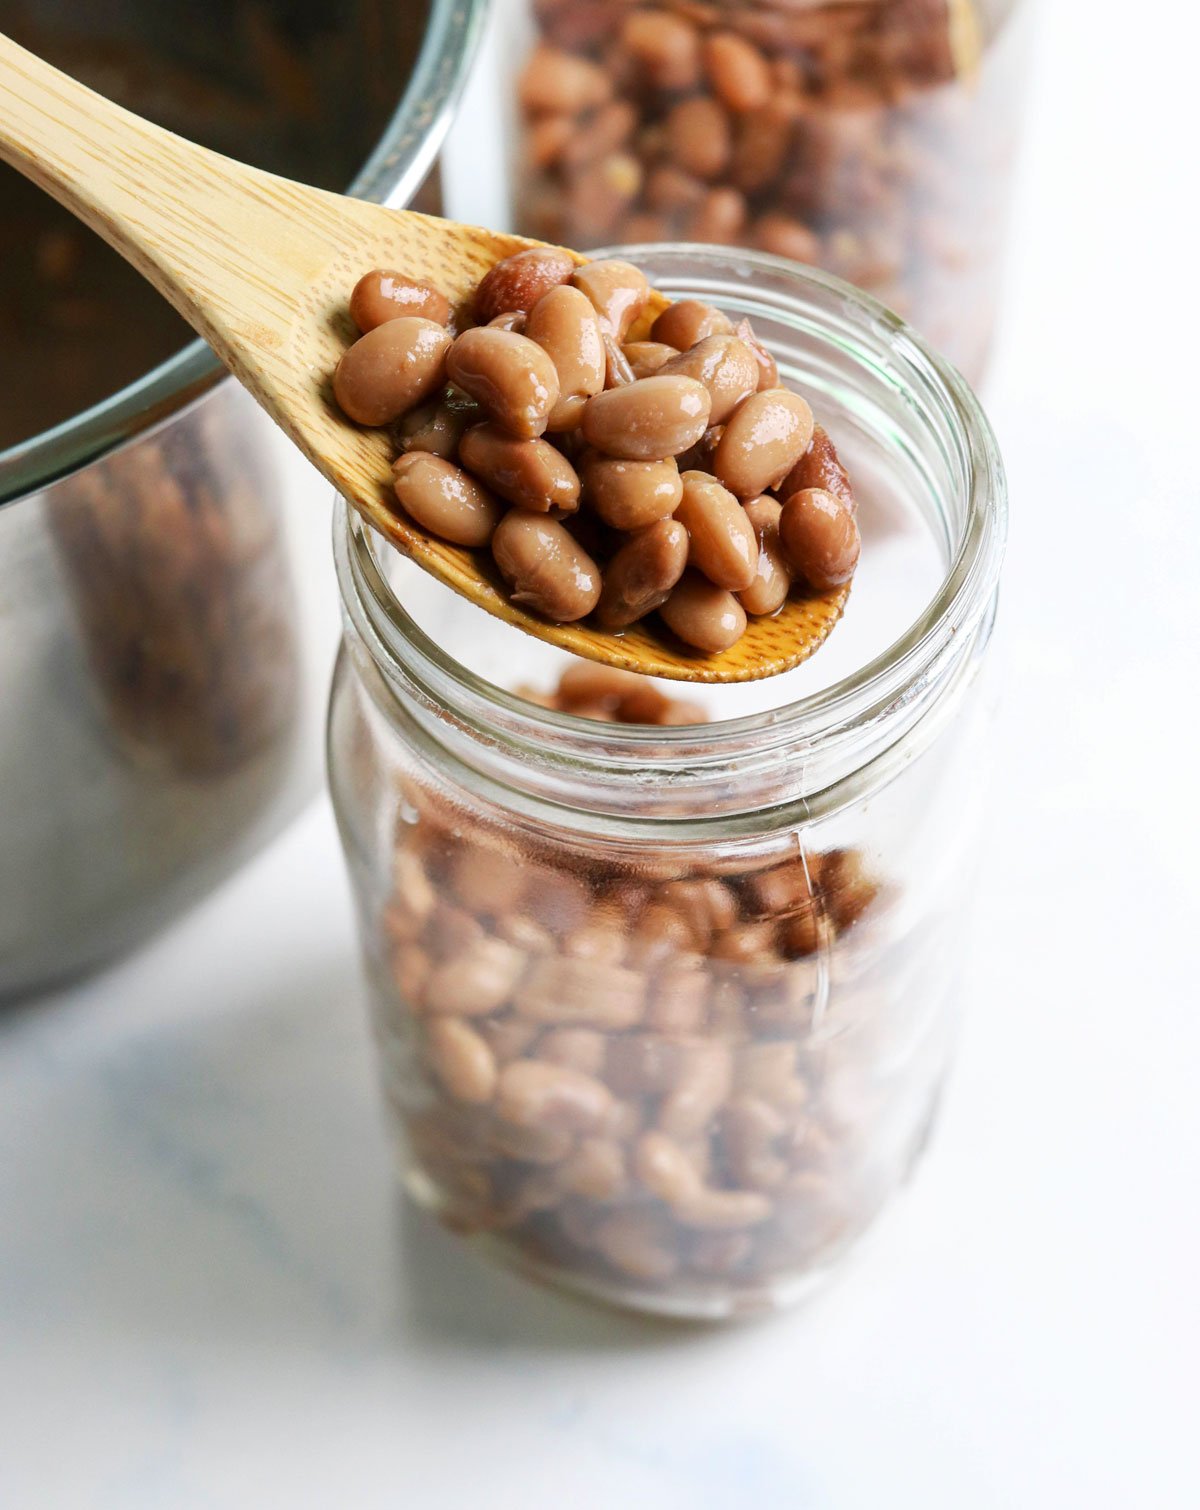
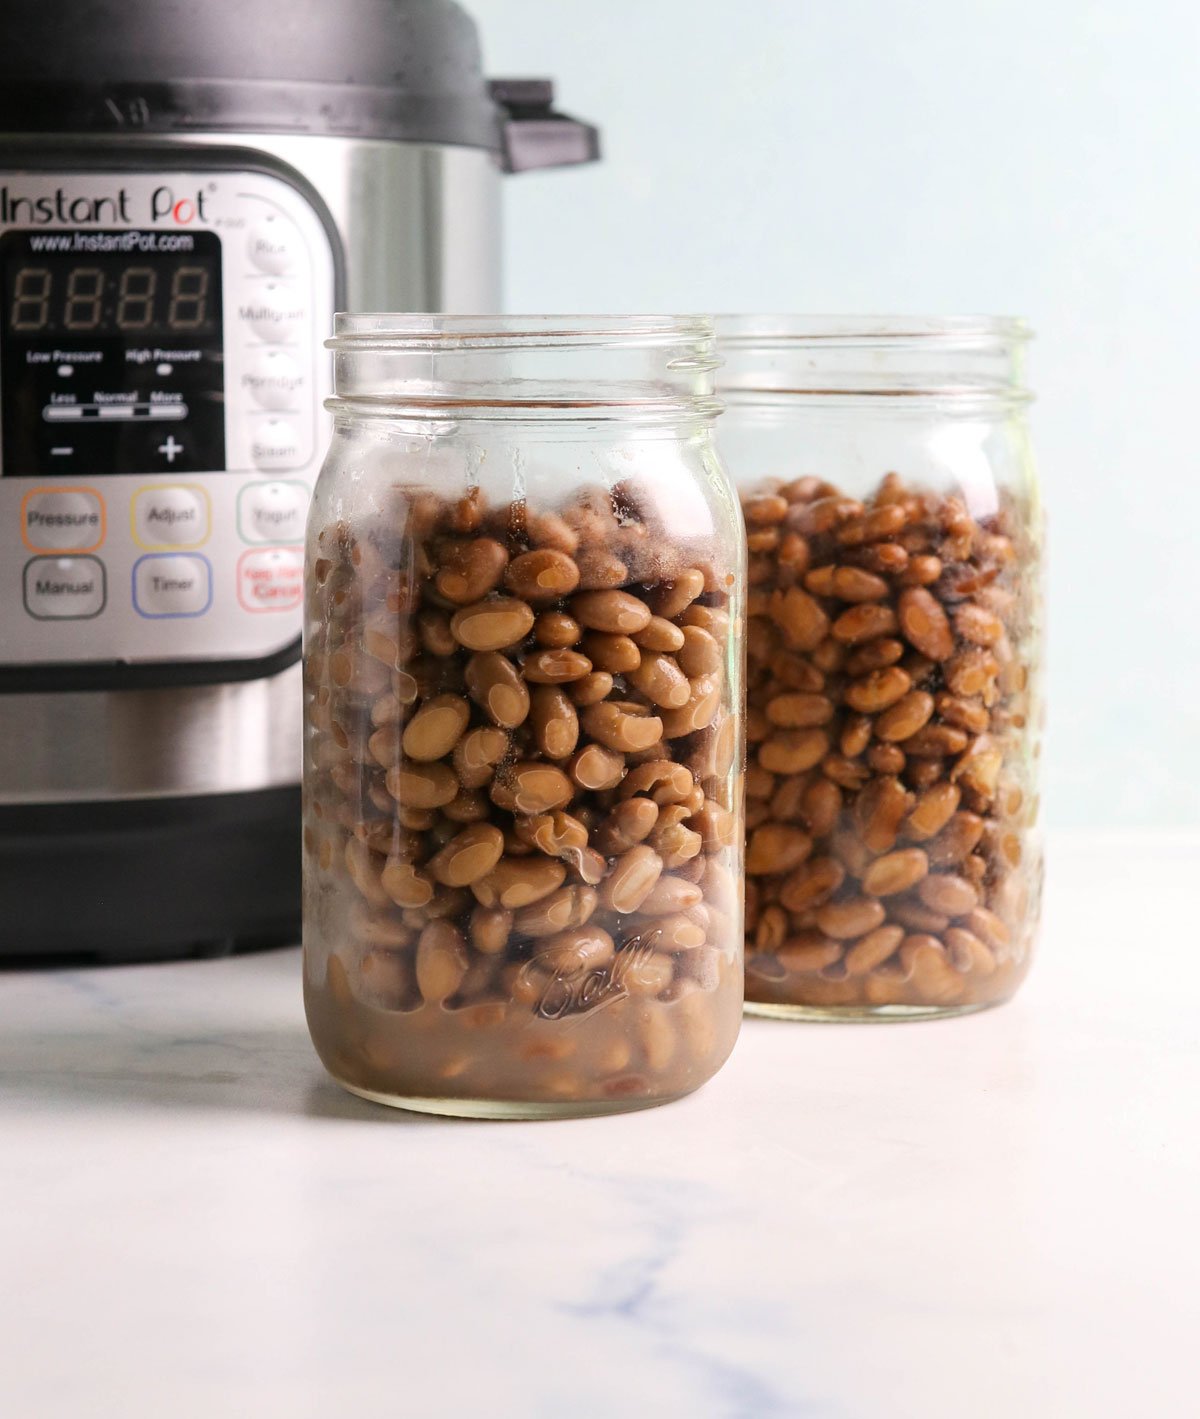
Cooking 1 cup of dry pinto beans makes roughly 3 cups of cooked pinto beans, or the equivalent of two cans. You can store these beans in the fridge for up to a week (in their cooking liquid) or you can freeze them.
How to Freeze Beans
To freeze pinto beans, drain the cooking liquid and spread the cooked beans out on a lined baking sheet. (Make sure the baking sheet will fit in your freezer first.) You want the beans to be in a single layer, without them touching too much.
Freeze until the beans are solid, about 3 to 4 hours. Transfer them to an airtight container that you can store in the freezer. The beans will be easy to measure and thaw this way, rather than freezing together in a large clump. They should keep well for at least 6 months in the freezer.
Ingredients
- 1 cup dry pinto beans (192 grams)
- 2.5 cups water (587 grams), plus more for soaking
- 1 teaspoon fine sea salt (I use Real Salt brand)
- 1/2 teaspoon ground cumin
- 1/2 teaspoon garlic powder (or 2 garlic cloves, minced)
Instructions
Cooking Soaked Pinto Beans:
- To soak the dry pinto beans, pour them in a large bowl and cover with 2 inches of water. Let them soak for 8 to 12 hours, or overnight in the fridge. I usually do this in the morning before work, and then they are ready to cook at dinner time.
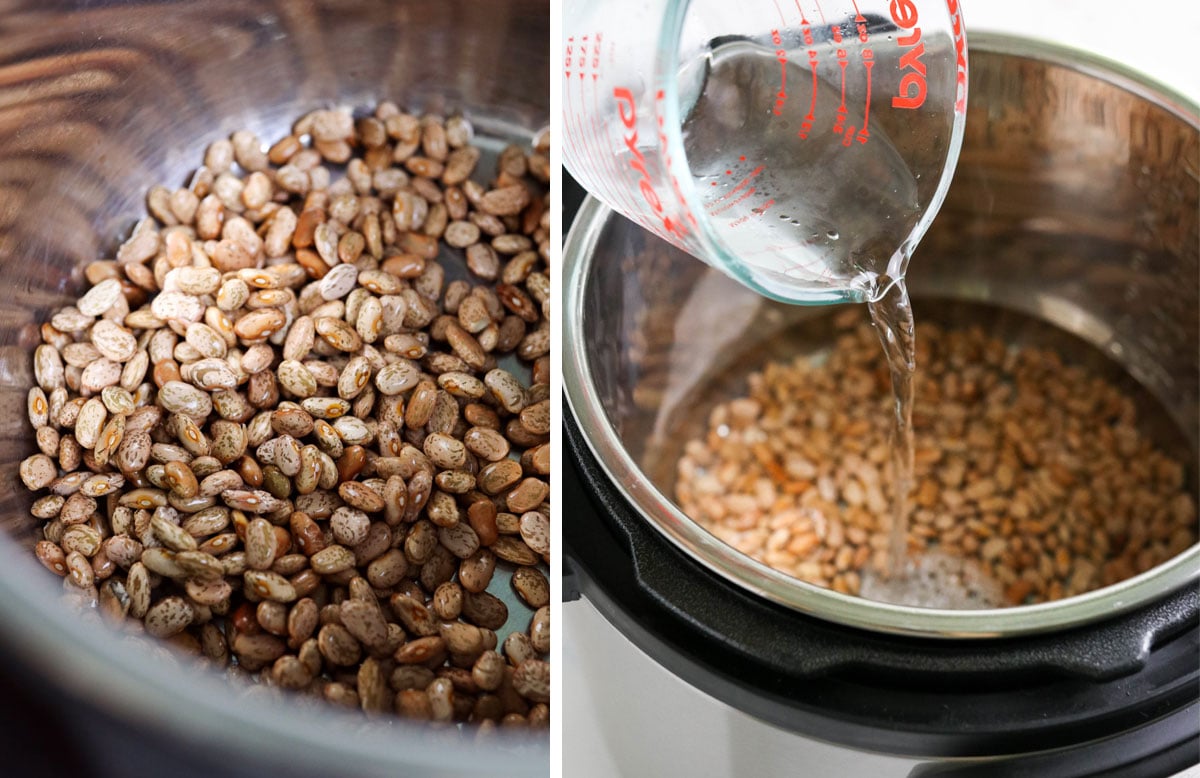
- Drain the soaked beans in a mesh strainer, and rinse well. Pour the drained beans into the Instant Pot, cover with 2 1/2 cups of fresh water, and season with the salt, cumin, and garlic powder, if desired. (Seasoning is optional)
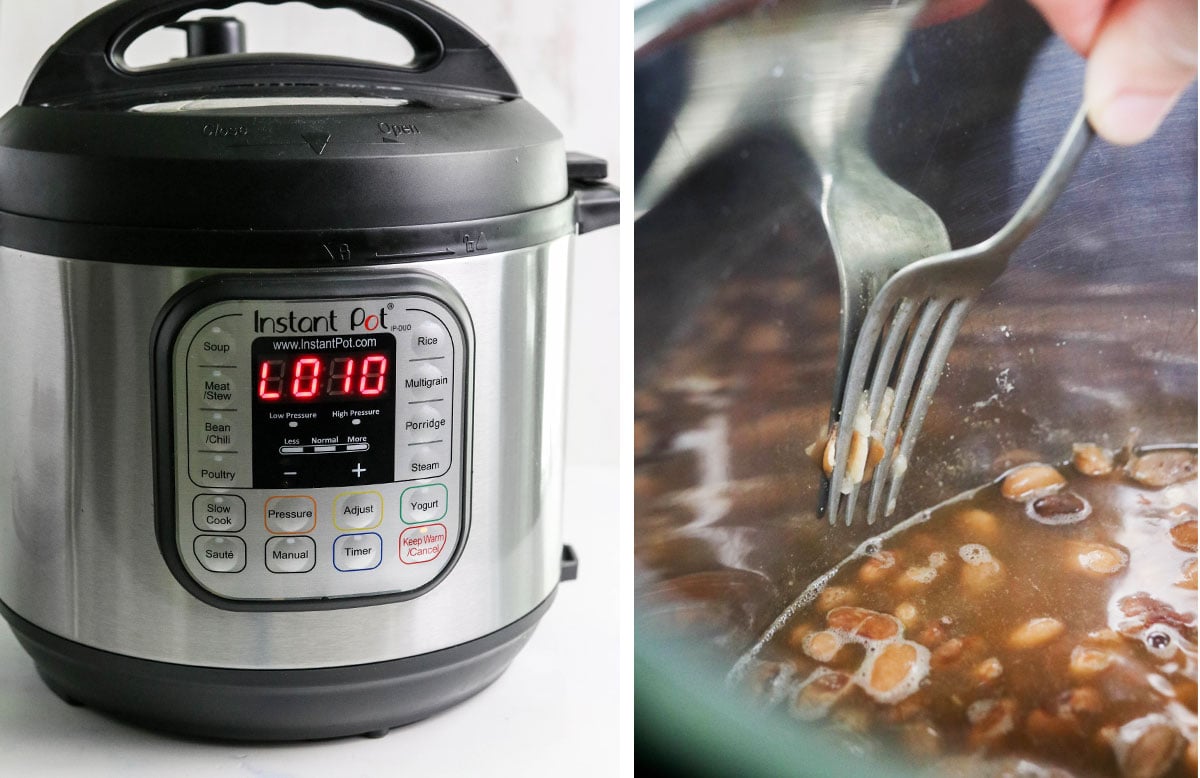
- Secure the lid and move the steam release valve to "Sealing." Use the Manual or Pressure Cook button to cook at high pressure for 15 minutes. It will take 8 to 10 minutes for the pot to pressurize, so the screen will just read ON until then.
- When the cooking cycle is complete, let the pressure naturally release for 10 minutes. When the floating valve drops, it's safe to open the lid. Test the beans for tenderness by smashing one against the side of the pot with a fork. It should mash easily, but if for some reason it doesn't, you can return the lid to the Instant Pot and cook for 5 more minutes until they are done to your liking.
- Use a slotted spoon to serve the beans, as they will still be sitting in liquid when they are done. For a thicker liquid, press the Sauté button on the Instant Pot and let the liquid simmer down for about 10 minutes with the lid off. The liquid should thicken and have a more concentrated flavor. Mash a few of the beans in the liquid for an even thicker texture.
Cooking Un-Soaked Pinto Beans:
- Pour the dry beans into the bottom of the Instant Pot and cover them with 2 1/2 cups of water. Season with the salt, cumin, and garlic, if desired. (Seasoning is optional)
- Secure the lid and move the steam release valve to "Sealing." Use the Manual or Pressure Cook button to cook at high pressure for 50 minutes. It will take 8 to 10 minutes for the pot to pressurize, so the screen will just read ON until then.
- When the cooking cycle is complete, let the pressure naturally release for 10 minutes. When the floating valve drops, it's safe to open the lid. Test the beans for tenderness by smashing one against the side of the pot with a fork. It should mash easily, but if for some reason it doesn't, you can return the lid to the Instant Pot and cook for 5 more minutes until they are done to your liking.
- Use a slotted spoon to serve the beans, as they will still be sitting in liquid when they are done. For a thicker liquid, press the Sauté button on the Instant Pot and let the liquid simmer down for about 10 minutes with the lid off. The liquid should thicken and have a more concentrated flavor. Mash a few of the beans in the liquid for an even thicker texture.
- Store the beans in their liquid in an airtight container in the fridge for up to 1 week, or you can freeze them for up to 6 months. (See my tips for freezing beans in the post.)
Video
Notes
Nutrition
Nutrition info is for roughly 1/2 cup of cooked beans. This information is automatically calculated, and is just an estimate and not a guarantee.
If you try these Instant Pot Pinto Beans, please leave a comment below and let me know how they turn out for you. And if you make any modifications, I’d love to hear about those, too! We can all benefit from your experience.
More Instant Pot Recipes
Need more Instant Pot tutorials? I’ve got you covered here on my website, and in The Fresh & Healthy Instant Pot Cookbook. (Which has a photo for every single recipe!)
- Instant Pot Mashed Potatoes
- Instant Pot Brown Rice
- Instant Pot Shredded Chicken
- Instant Pot Hard Boiled Eggs
- Instant Pot Baked Potatoes
- Instant Pot Spaghetti
- Instant Pot Salmon
- Instant Pot Spaghetti Squash
- Instant Pot Brownies
- Instant Pot Spaghetti Sauce
- Instant Pot Applesauce
- Instant Pot Steel Cut Oats
Reader Feedback: What’s your favorite thing to make in the Instant Pot?






This is the perfect technique I’ve been searching for. Very easy to make and delicious every time. For extra kick I add fine diced onions and garlic to the pot, sautee a little bit, add beans, water and seasonings (including chili powder). Guests always ask “Where did you get these beans!”
Perfection I’m a newbie with making different types of food in my instant pot and your recipe was perfect easy to understand and amazing taste Thank You 🙂
Great recipe! Easy to find and delicious!
this recipe made the best pinto beans. we both loved them.
This is exactly what I was looking for. I am going to make chili tonite and I don’t have enough cans of beans, but I have some dry ones. I would offer some constructive criticism, but I just don’t have any. You did a fabulous job here presenting the information.
Instant pot jambalaya!