This post may contain affiliate links. Please read my disclosure and privacy policy.
Up until recently, I wasn’t interested in creating my own bath and body products. I like to keep things really simple, and over the past couple of years I’ve only used regular coconut or olive oil for all of my skin care needs. Olive oil works wonders as a makeup remover!
However, oil can have a drying affect on the skin, so it’s not always the best moisturizer on its own. Yes, as strange as it sounds, oils can actually dry-out your skin! So, I started looking into other all-natural options and discovered the moisturizing capabilities of pure shea butter, which for some reason, I had been previously intimidated to try.
I’m so glad I got over that.
Initially, I tried sticking to my usual routine with the raw shea butter, using it straight-up as a lotion. It has a soft, putty-like texture that melts in your hands, but it was almost too putty-like and left a heavy feeling on my skin. Hence, why I finally decided to try making a lotion with it.
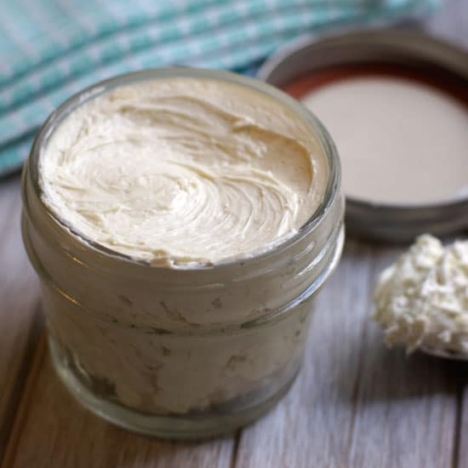
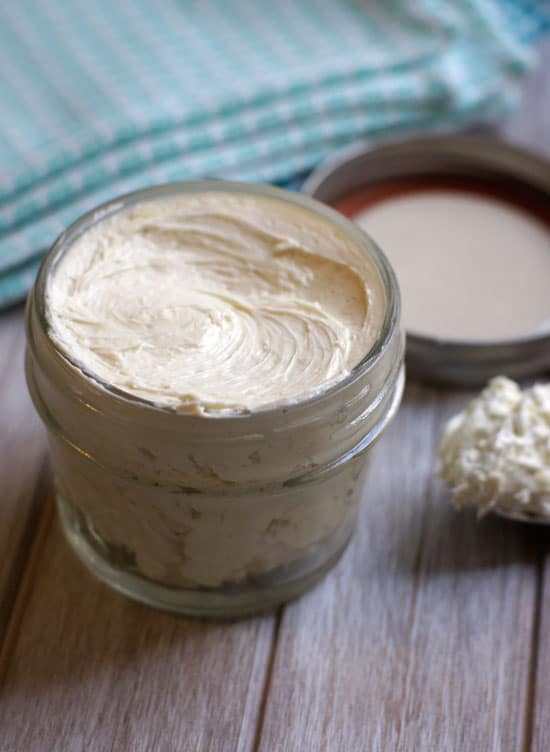
Keeping things as simple as possible, I paired the raw shea butter with pure olive oil, which is a good source of vitamins A and E. The result is a rich and buttery cream that keeps my skin healthy and supple. I use this cream daily after washing my face, and love how it makes my skin feel!
—
My Favorite 2-Ingredient Lotion
Makes about 5 ounces
Ingredients:
4 ounces raw shea butter (I ordered this brand in ivory)
2 tablespoons extra-virgin olive oil
Directions:
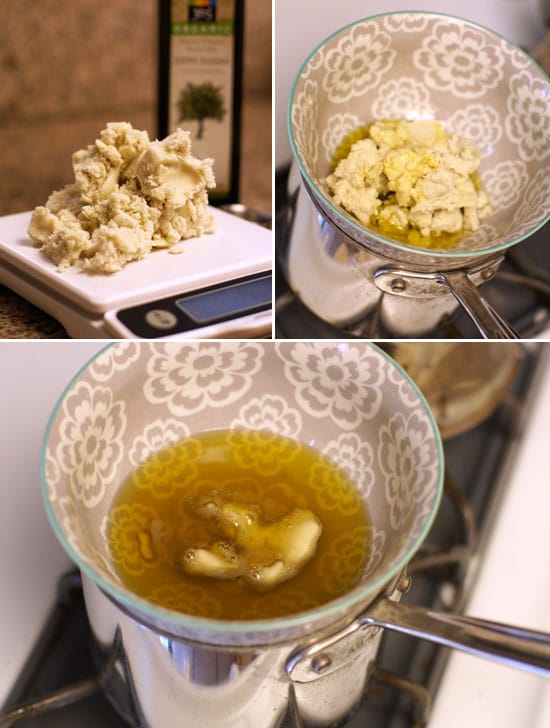
Gently melt the shea butter over the stove using a double boiler. (I just fill a 2-quart saucepan with a couple inches of water, then fit one of my oven-safe serving bowls over the top to create a make-shift double boiler.)
Tip: If you don’t have a food scale to measure the shea butter, simply cut the one-pound block into roughly 4 evenly-sized pieces. They’ll each be about 4 ounces.
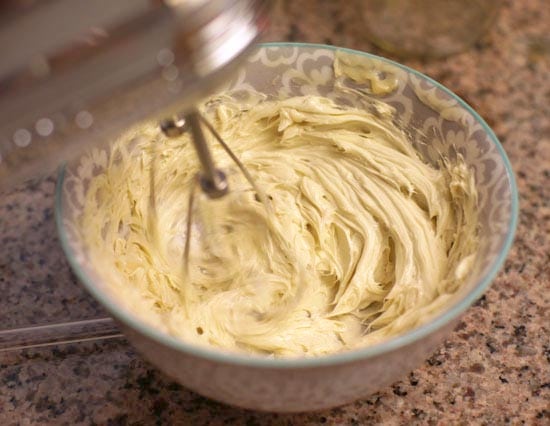
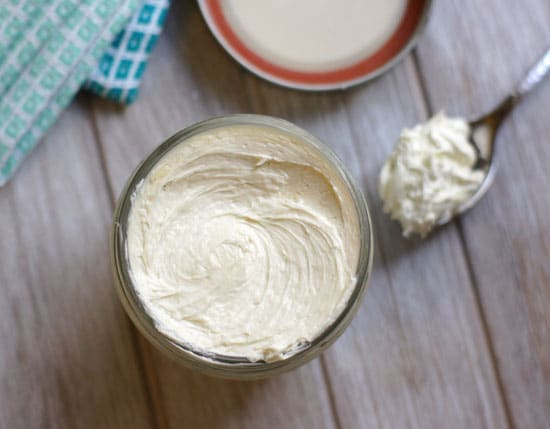
Stir the olive oil into the melted butter, then place the mixture in the fridge to cool for 30 to 40 minutes, until it’s at least half-way solidified again. Then all you have to do is use a hand mixer to beat the mix until the lotion has a creamy texture, which takes about 5 minutes. (I tried stirring it with a spatula first, but the hand mixer makes the texture MUCH better!)
Transfer the lotion into a glass jar, and use as often as desired! It should last for at least 6 months, if not longer.
Notes:
- You’ll notice that many store-bought lotions contain water as one of the first ingredients, which gives them a thinner and more liquid-like texture. If you want a moisturizer similar to that, you’ll need to add a preservative to the mix, as adding water will make the lotion spoil quickly without it. I didn’t want to work with preservatives, which is why I stuck to this easy 2-ingredient formula.
- If you’d like your lotion to have a scent, you can add one or more of your favorite essential oils to the mix.
Enjoy!
—
Reader Feedback: Have you ever made your own lotion before?



Could I put it in a pump container? I really don’t like the idea of sticking my fingers (even if clean) in the jar. Thanks!
How do you get the final product sink white when you started off with yellow items? Also, why olive oil. nearly 99 percent of all olive oil sold in USA Is fake. It’s so hard to find olive oil to eat, that you most likely got nut oil, very dangerous to anyone with nut allergies, like me.
I made this lotion yesterday and as yet haven’t used it. My question is, it went back to a more solid consitancy like butter. Is it supposed to be like that, or is it possible that i whipped it too long?
It does become more solid, like a butter. That’s why I usually apply it to wet skin, to help it distribute further. Store-bought lotions have quite a bit of water added to them, and that’s why they have to add preservatives to help keep everything from spoiling to fast from the added moisture.
How many drops of essential oil do you recommend for this quantity of cream?
Is it possible to replace the shea butter with mango butter? I’ve never used the latter before.